Let's JAM: Building a Blog with Hugo + GitHub Pages + Hover + Smol (Part 1)
by: tobias tech tutorial metaI can think of three ways to build a blog off the top of my head. First, you can go to tumblr (I can’t believe tumblr isn’t dead yet), click Get Started and you’ll get a full on SaaS blog to get started blogging. Second, you can set up an instance of WordPress or ghost on your own server (physical or in the cloud) and go from there. But both of these aren’t fun. Option 1 is way too easy and you’re stuck with whatever features your blogging platform gives you. Option 2 is super expensive and a hassle (LAMP stack anyone?).
Here is Option 3, then: JAM. JAM is short for JavaScript, API, and markup. The basic idea is to use static site generators (SSGs) to build your HTML + CSS from text files (or, more specifically, files that use a markup language such as markdown (yay!) or YAML (nay!)). Those static files can live on some web hosting service and can be distributed over content delivery networks (edge computing 🥵) cheaply and efficiently - and at scale. For some dynamic content, code in these static web files uses backend APIs.
So is any of this useful for two people who put some text on the web just to share it with no one else?
No, not really.
But it’s fun (and the hip lit thing to do right now).
For our little blog, we won’t be using any JavaScript (yet) or APIs, since we’re dealing with exclusively static content. So all we need is a SSG and some form of web hosting service.
hugo is one of the most widely used SSGs and has over 45k stars on JizzHubGitHub.
Also, it’s written in go, which makes me happy.
The basic process is this:
- You write a blog post (or some other form of content) in using markdown syntax
- You use the
hugocommand to generate HTML + CSS from your markdown file and a given site theme - You upload your generated content to your web hosting service (more on that later)
Before we begin creating our blog, we’ll have to pick a cool name.
And when picking a cool name, we’ll have to make sure that a cool domain name is still available.
On Hover you can get some fun top-level domains (or TLDs for short: these are domains like .com, .net, .xxx, .pizza) to base your own domain on.
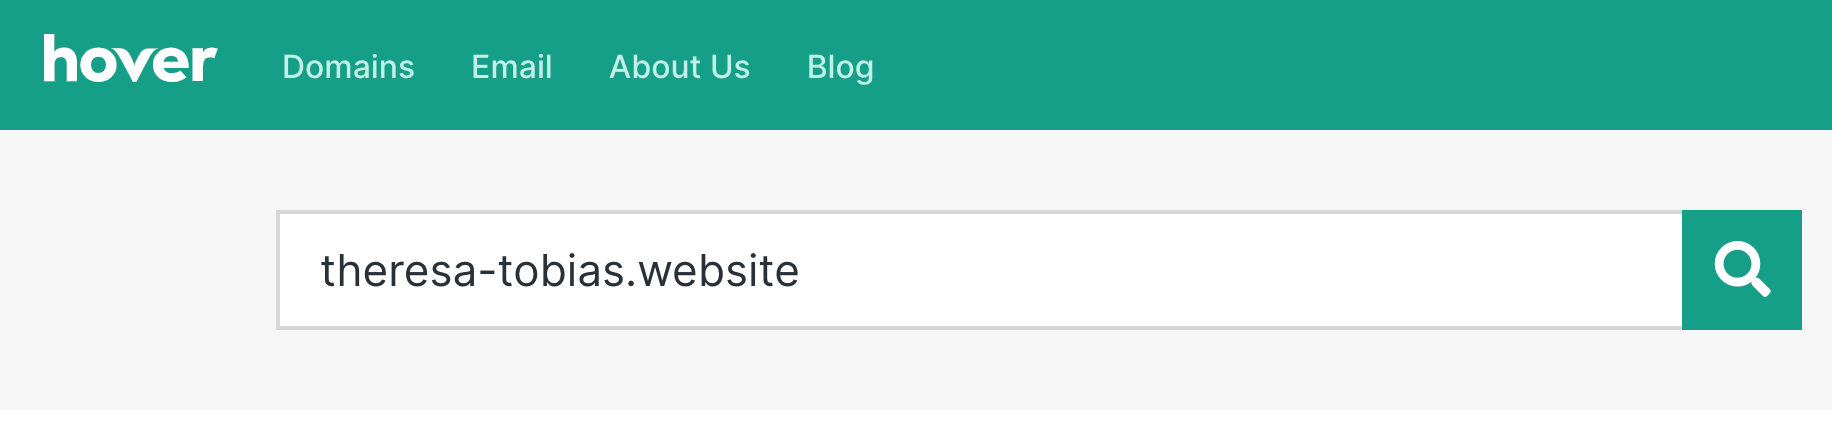
Let’s buy theresa-tobias.website (cute).
Great! Now we can install hugo and create our new blogging project:
$ brew install hugo
$ hugo new site theresa-tobias.website
$ cd theresa-tobias.website
$ git init
You can name your project folder anything you want, actually, but it makes sense to keep things consistent (omg crazy OCD amirite).
Hugo went ahead and created a bunch of files for us, which is nice of hugo.
What’s important for us are the config.toml and the themes/ folder.
Let’s first install a nice theme for our new blog.
We’ll be using the smol theme because it’s super lightweight, easy on the eyes yet still funky looking, and easy to work with and extend (please see the various pull requests I already made to this GitHub repo).
There’s two ways to get smol into our themes/ directory: either download it from GitHub or add it as a submodule.
Downloading it makes it easier to get it to the same state on all local copies of our own repository.
Adding it as a submodule makes it easier to update the theme when new features are available.
For now, let’s download it and check for updates periodically and install changes manually (I hope I won’t regret this).
$ curl -OL https://github.com/colorchestra/smol/archive/master.zip
$ unzip master.zip
$ mv smol-master ./themes/smol
And now we’ll update our config.toml and tell hugo to use the new smol theme from now on.
baseURL = "https://www.theresa-tobias.website/"
languageCode = "en-us"
title = "theresa & tobias"
publishdir = "docs/"
theme = "smol"
We’re also setting our new domain name (note that we use HTTPS because we’re cool), a language for our blog, a cute little title (is lowercase still in? taylor swift says Yes yes), telling hugo to publish finished HTML + CSS files to the docs/ directory1, and of course we’re using smol as our theme.
Cool, right?!
So, to recap, this is what we’ve done so far:
- bought a domain name
- installed hugo
- created a new hugo project for our blog
- installed a cool theme
In the next parts of this twofour-part series, we’ll be doing the following:
- create a GitHub repo to use GitHub Pages
- connect our domain to GitHub Pages
- write and upload our first blog post!
-
there used to be a limitation on GitHub Pages where it would only let you publish stuff in this
docs/directory, but that doesn’t seem to be the case anymore - nevertheless, let’s keep it as it is ↩︎